
Using the API
RagMetrics offers two APIs:
- Pull API: RagMetrics will pull data from your REST endpoint and evaluate the results. Experiment runs are triggered from the RagMetrics GUI.
- Push API: Your local Python code will push data to RagMetrics. Experiment runs are triggered from your Python code.
Pull API
In this API, RagMetrics connects to your code through a REST endpoint, provides input as if from a user, waits for your code to process it, collects the output and retrieved contexts and evaluates the results.
Step 1: Understand the Data Format
- The RagMetrics API uses JSON for both input and output.
- Labeled Data: Your labeled data set should include:
- Sample inputs or user questions that you would expect for your conversational AI bot.
- The correct answers that the system should deliver.
- Correct contexts or sources that are relevant to the answers.
- The API will take this data, one input at a time, and feed it into your pipeline.
- Input JSON: The input to your pipeline via the API should include:
- The question from your labeled data set.
- Any A/B test parameters that you want to use to switch between different parts of your code, like retrieval strategies. These are optional.
- Output JSON: Your pipeline should return a JSON object that includes:
- The generated answer from your LLM. This is the only required field.
- The retrieved contexts (optional), which is a list of contexts with metadata and content.
- The LLM response (optional).
Step 2: Set Up Your Development Environment
- You can use any environment you like, but this demo uses Replit, a free online coding platform that allows you to set up a web server.
- Knowledge Base: Create a list of strings that represent your knowledge base. In this demo, the knowledge base is a list of customer service policies copied from an Excel spreadsheet.
- RAG Method: Create a function (e.g., rag in the demo) that takes a JSON input and returns a JSON output, as defined in Step 1. This method should implement the logic of your LLM pipeline.
- Parsing Input: In your rag method, parse the input JSON to get:
- The question (e.g., from the “row” element).
- Any A/B test parameters (e.g., the “retrieval strategy”).
- Retrieval Logic: Implement your retrieval logic. In the demo, the retrieval strategy is switched between ‘random’ (retrieving a random context from the knowledge base) and ‘embeddings’ (retrieving a context based on embeddings).
- Response: Format the output as a JSON with at least the generated_answer field. You can also add the optional contexts and llm_response fields.
- Create an Endpoint: Use Replit or a similar platform to set up an endpoint for your LLM pipeline.
Step 3: Connect Your Endpoint to RagMetrics
- In the RagMetrics platform, go to the API demo section and create a new “rag endpoint”.
- Give your endpoint a name (e.g., “my LLM pipeline”) and paste the URL of the endpoint you created in Step 2.
- Test your endpoint to ensure it’s working correctly by sending a sample input and verifying the output.
Step 4: Run an Experiment
- Go to the experiments page and choose an existing experiment or create a new one.
- Select your model pipeline that you just created.
- A/B Test Parameters: Create experimental cohorts to test different configurations of your pipeline.
- In the demo, two cohorts are created: one using a ‘random’ retrieval strategy and one using an ‘embeddings’ retrieval strategy. These will be used as inputs to the API and then parsed by your code.
- Evaluation Criteria: Select your evaluation criteria. In the demo, the focus is on “context relevance,” which measures how well the retrieved context matches the ground truth context in your labeled data.
- Run the experiment. RagMetrics will send each question in your labeled data set to your endpoint with the A/B parameters, and then evaluate the output according to the selected criteria.
Step 5: Analyze the Results
- After the experiment completes, you will see the results for each experimental cohort.
- The results will show how well the system performed according to your evaluation criteria.
- In the demo, the “embeddings” retrieval strategy scored higher than the “random” retrieval strategy on context relevance.
- For example, the random retrieval might bring back the policy about shipping when the user asks about a coffee maker and the embeddings retrieval will bring back the correct policy.
Key Takeaways
- The RagMetrics API allows you to test your LLM application, including the retrieval step, by sending JSON inputs to your own endpoint and evaluating the output.
- You can use A/B testing parameters to switch between different parts of your code, such as different retrieval strategies.
- RagMetrics provides an automated way to evaluate the performance of your application based on custom criteria.
- You can use this to make data-driven decisions about optimizing your entire LLM pipeline.
Example LLM Pipeline Code Snippet (Python)
This code illustrates a minimal RAG pipeline that takes a question, retrieves a context from a knowledge base and generates an answer. Retrieval is either random or based on embedding similarity, depending on an input parameter switch.
You can access this notebook on Colab. However, please note that Colab does not allow incoming HTTP requests. Therefore, we deployed it on Replit.
import os
import json
import random
import numpy as np
from flask import Flask, request, jsonify
from openai import OpenAI

# -----------------------------
# OpenAI client
# -----------------------------
# Prefer env var over hardcoding keys
client = OpenAI(api_key=os.getenv("OPENAI_API_KEY", "<YOUR_OPENAI_KEY>"))

# -----------------------------
# Toy knowledge base
# -----------------------------
knowledge_base = [
    "Our standard shipping policy states that delivery times are typically within 5-7 business days, but may be extended during periods of high demand. - Company Shipping Policy Document",
    "Our return policy ensures that customers can return incorrect items at no cost, and we will promptly send the correct item. - Company Return Policy Document",
    "All appliances purchased from our store come with a 12-month warranty covering manufacturing defects and malfunctions. - Company Warranty Policy Document",
    "Returns without a receipt can be processed for store credit or full refund if the purchase is linked to a customer account. - Company Return Policy Document",
    "International shipping is available for most countries, with standard delivery times ranging from 10-15 business days, subject to customs clearance. - Company International Shipping Policy Document",
]

# -----------------------------
# Embeddings + similarity
# -----------------------------
def get_embedding(text: str):
    resp = client.embeddings.create(
        model="text-embedding-3-small",
        input=text
    )
    return resp.data[0].embedding


def cosine_similarity(a: np.ndarray, b: np.ndarray) -> float:
    a = np.array(a, dtype=float)
    b = np.array(b, dtype=float)
    return float(np.dot(a, b) / (np.linalg.norm(a) * np.linalg.norm(b)))


# -----------------------------
# Retrieval strategies
# -----------------------------
def retrieval_random(query: str, kb: list[str]) -> list[str]:
    return [random.choice(kb)]


def retrieval_embed(query: str, kb: list[str]) -> list[str]:
    query_embedding = get_embedding(query)
    similarities = []
    for sentence in kb:
        sent_embedding = get_embedding(sentence)
        similarities.append(cosine_similarity(query_embedding, sent_embedding))
    most_relevant_index = int(np.argmax(similarities))
    return [kb[most_relevant_index]]


# -----------------------------
# Generation
# -----------------------------
def generation(context: list[str], query: str):
    prompt = (
        "You provide customer service for an online retailer. "
        "Answer the customer question based on the context only.\n\n"
        f"Question: {query}\n"
        f"Context: {' '.join(context)}\n"
        "Answer:"
    )

    llm_response = client.chat.completions.create(
        model="gpt-4o-mini",
        messages=[{"role": "user", "content": prompt}],
        temperature=0.7,
    )

    answer = llm_response.choices[0].message.content
    return answer, llm_response


# -----------------------------
# Pipeline
# -----------------------------
def simple_rag(json_input: dict) -> dict:
    # Parse input
    try:
        user_question = json_input["row"]["question"]
        retrieval_strategy = json_input.get("experiment", {}).get(
            "retrieval_strategy", "random"
        )
    except KeyError:
        return {"error": "Missing json_input['row']['question']"}

    # Retrieval
    if retrieval_strategy == "random":
        contexts = retrieval_random(user_question, knowledge_base)
    elif retrieval_strategy == "embeddings":
        contexts = retrieval_embed(user_question, knowledge_base)
    else:
        return {"error": "Invalid json_input['experiment']['retrieval_strategy']"}

    # Generation
    answer, llm_response = generation(contexts, user_question)

    # Build output
    output_json = {
        "generated_answer": answer,
        "contexts": [
            {
                "metadata": {
                    "source": "knowledge_base",
                    "id": knowledge_base.index(context),
                },
                "page_content": context,
            }
            for context in contexts
        ],
        # model_dump() exists on SDK response objects; if using plain dicts, remove this call
        "llm_response": llm_response.model_dump() if llm_response else None,
    }
    return output_json


# -----------------------------
# Flask app
# -----------------------------
app = Flask(__name__)


@app.after_request
def after_request(response):
    origin = request.headers.get("Origin")
    if origin:
        response.headers["Access-Control-Allow-Origin"] = origin
    response.headers["Access-Control-Allow-Methods"] = "GET, POST, OPTIONS"
    response.headers["Access-Control-Allow-Headers"] = "Content-Type, X-CSRFToken"
    response.headers["Access-Control-Allow-Credentials"] = "true"
    return response


@app.route("/", methods=["OPTIONS"])
def options():
    # Preflight response
    response = jsonify({})
    response.headers["Access-Control-Max-Age"] = "86400"
    return response


@app.route("/", methods=["POST"])
def post_handler():
    post_data = request.get_json(force=True, silent=True) or {}
    response_data = simple_rag(post_data)
    return jsonify(response_data)


if __name__ == "__main__":
    # For local testing only; use a proper WSGI server in production
    app.run(host="0.0.0.0", port=8000)

    # Example:
    # sample_input = {
    #     "experiment": {
    #         "experiment_name": "experiment 1",
    #         "retrieval_strategy": "random"
    #     },
    #     "row": {
    #         "q_num": 1,
    #         "question": "international"
    #     }
    # }
    # result = simple_rag(sample_input)
    # print(json.dumps(result, indent=4))
Next Steps
- Try implementing different retrieval strategies in your code.
- Experiment with different evaluation criteria to measure other aspects of your LLM application.
- Explore the full range of RagMetrics features for more advanced evaluation and optimization.
- Drop RagMetrics a line to try out the feature.
This quickstart should give you a clear understanding of how to use the RagMetrics API to improve your LLM applications.
Push API
This API allows you to use your local Python code to push data to RagMetrics, trigger experiments, upload datasets, create criteria and more.
Getting Started: Log a trace
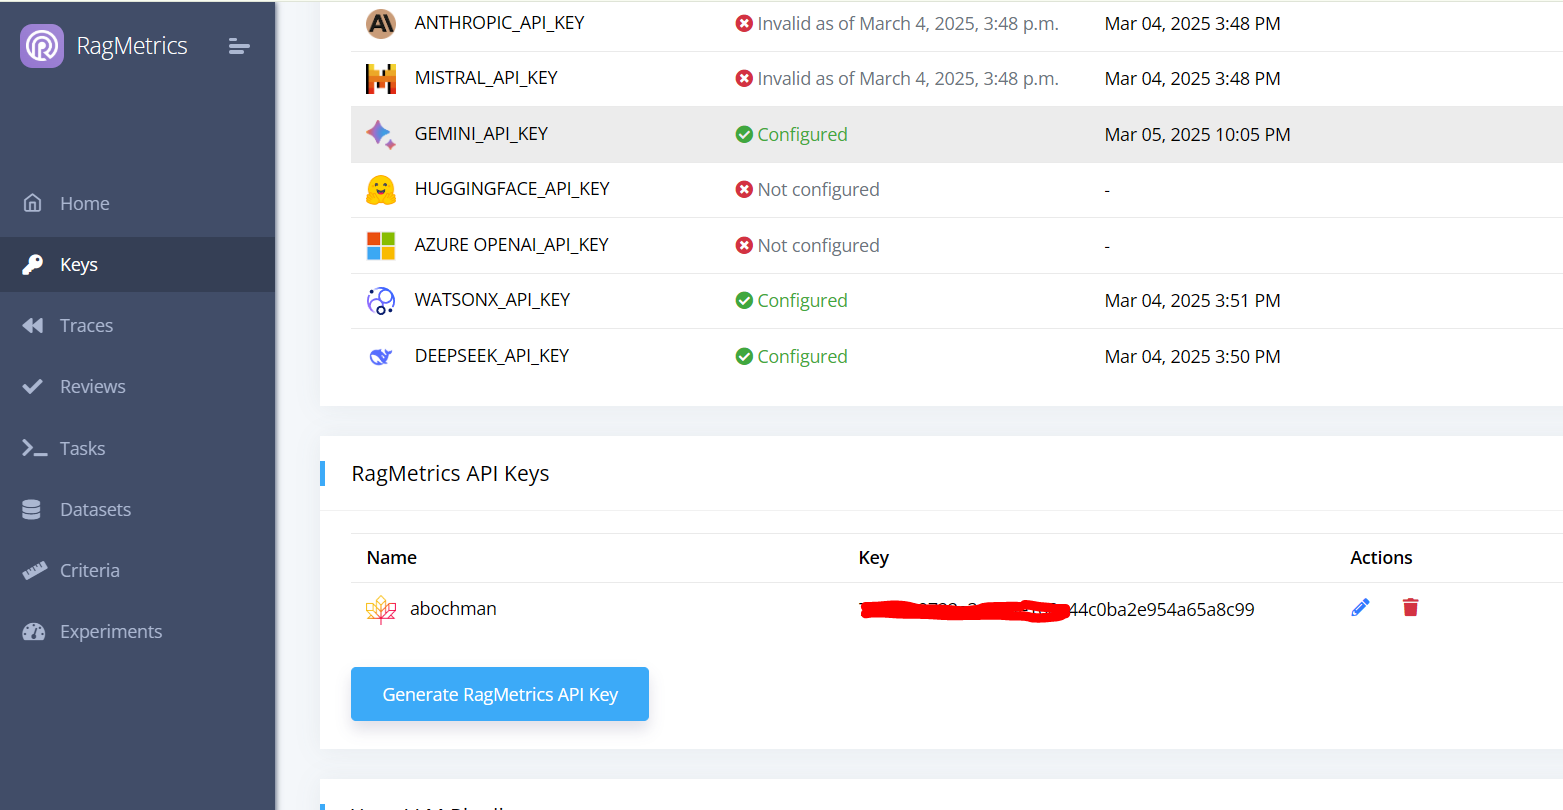
Step 1: Get a RagMetrics key
- Log into RagMetrics
- Navigate to the Keys page
- Create a new RagMetrics API key
- Copy the key to your clipboard
Step 2: Log a trace
Use Python code such as below to log a trace of your LLM input and output to RagMetrics
# Install dependencies (only needed in local or Colab environments)
# !pip install ragmetrics-client openai

from openai import OpenAI
import ragmetrics

# Authenticate with RagMetrics
ragmetrics.login(key="[your_ragmetrics_key]")

# Initialize the OpenAI client
openai_client = OpenAI(api_key="[your_openai_key]")

# Monitor OpenAI API calls with RagMetrics
ragmetrics.monitor(openai_client)

# Example chat completion
response = openai_client.chat.completions.create(
    model="gpt-3.5-turbo",
    messages=[{"role": "user", "content": "1 + 1 = ?"}]
)

print(response)
Notes:
- Paste your RagMetrics API key into the
keyparameter of theragmetrics.login()method or setos.environ["RAGMETRICS_API_KEY"]before callinglogin(). - Call
monitor()once and then subsequent LLM calls from this client will be logged. - The code above demonstrates how to monitor the OpenAI client, but we also support LiteLLM and LangChain clients using the same syntax.
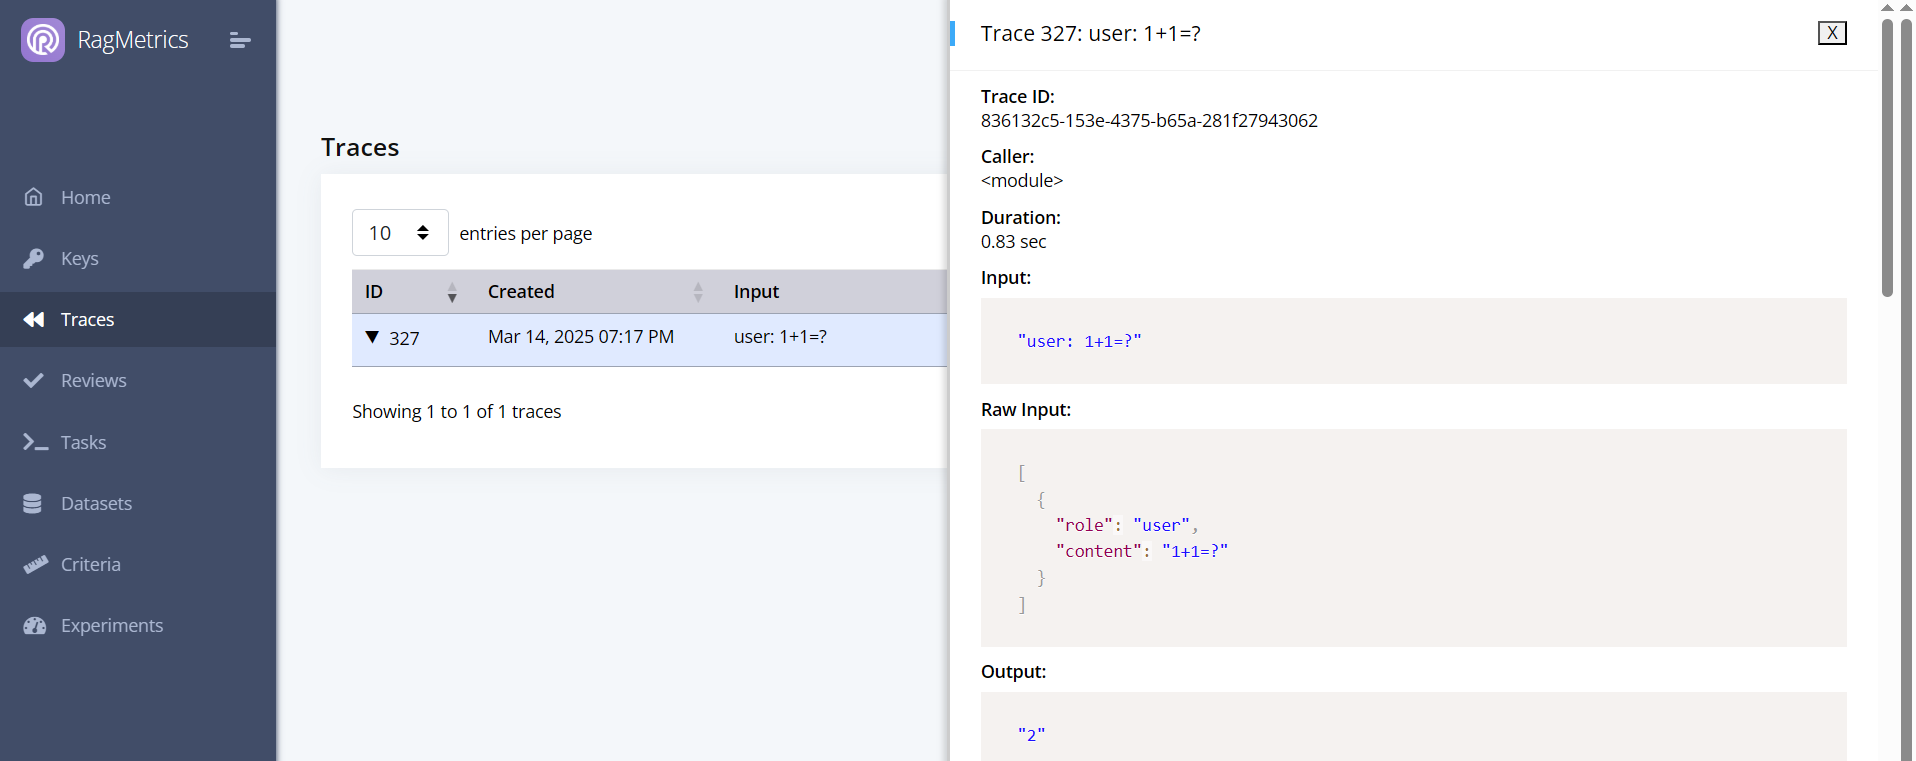
You can now see the trace on the Traces page
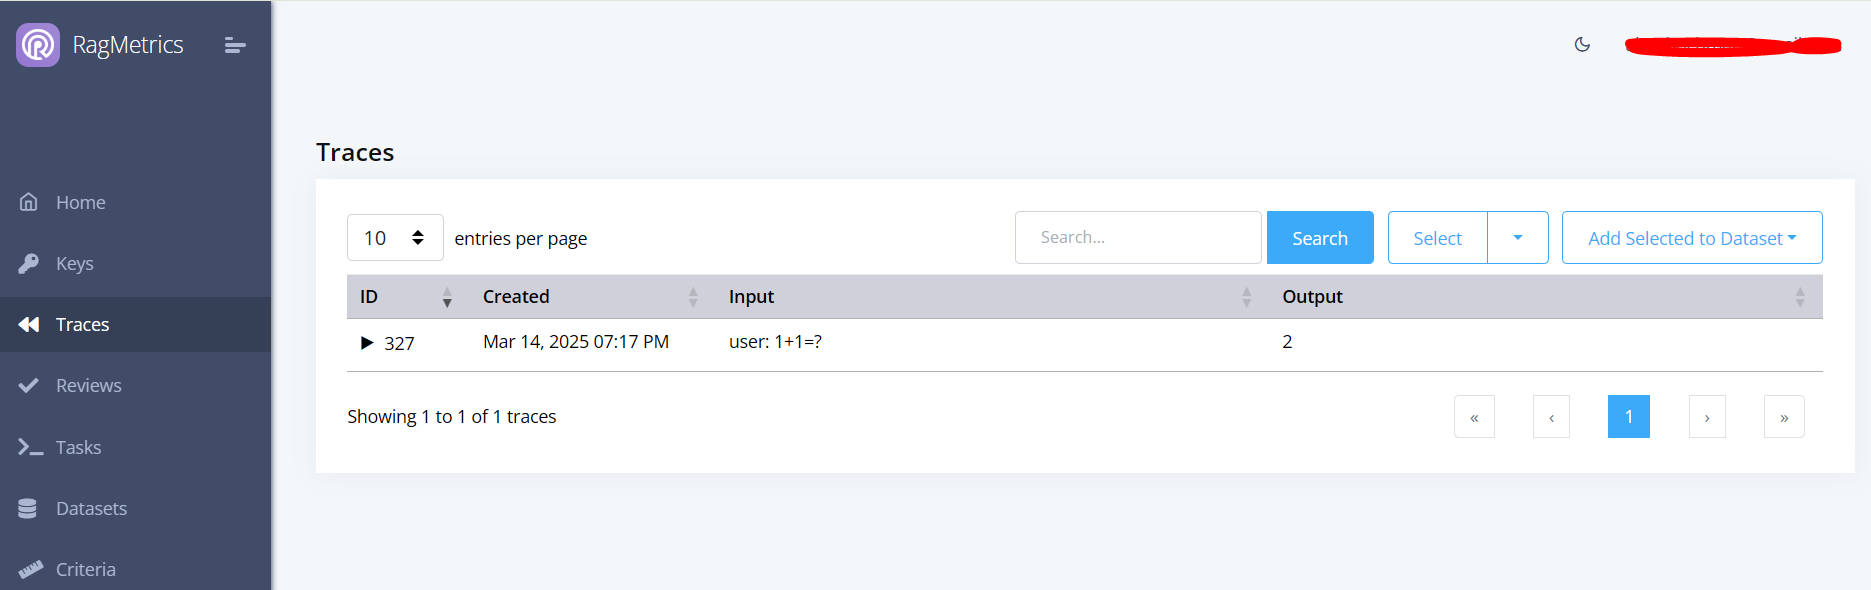
Click the triangle to expand the trace and see the details.
Step 3: Add metadata
You can add metadata to your traces to help you filter them later:
resp = openai_client.chat.completions.create(
    model="gpt-4o-mini",
    messages=[
        {"role": "user", "content": "2 * 2 = ?"}
    ],
    metadata={"task": "multiplication"}
)
The metadata will show up in the trace details:
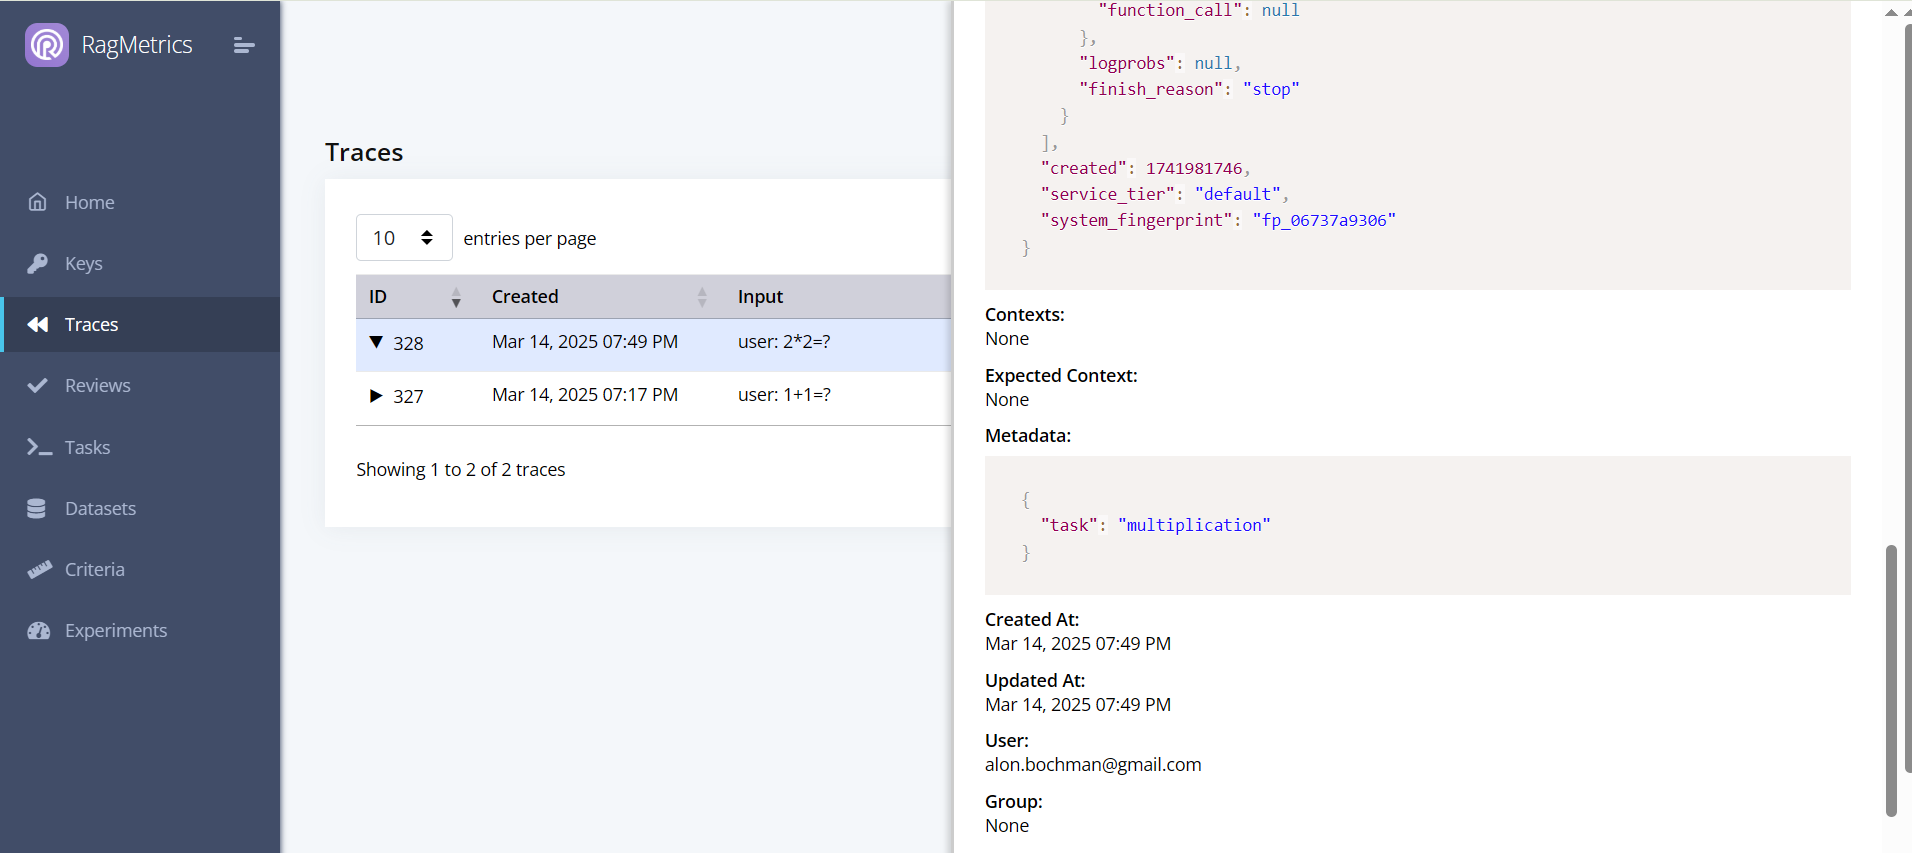
Now you can use the GUI to filter traces by metadata:

Note:
- You can also add metadata in
ragmetrics.login(). - Metadata from individual traces will supersede metadata from the login call.
Step 4: Format trace input/output
You can customize the formatting of the trace input and output using a callback. In the example below, we filter out the part of the output before the equal (=) sign.
def my_callback(raw_input, raw_output):
    # Your custom post-processing logic here
    try:
        raw_output_str = str(raw_output.choices[0].message.content)
        output = raw_output_str.split('=')[1].strip()
    except Exception as e:
        output = raw_output

    return {
        "output": output
    }


# Attach RagMetrics monitoring with the callback
ragmetrics.monitor(openai_client, callback=my_callback)

# Example OpenAI call
resp = openai_client.chat.completions.create(
    model="gpt-4o-mini",
    messages=[{"role": "user", "content": "2 * 2 = ?"}],
    metadata={"task": "multiplication"}
)
Here’s the new trace:

Notes:
- Callbacks do not erase the original raw input and output. Those are still available in the trace, in addition to the processed input and output.
- A custom callback accepts two arguments:
raw_inputandraw_output. These contain the ‘raw’ JSON from the LLM call. - The callback must return a dictionary with optional keys
inputandoutput. - If no callback is provided, our default callback flattens input messages into a string, and extracts the string content of the last output message.
Key Takeaways
In this quickstart tutorial, you learned how use the RagMetrics push API to:
- Log a trace and view it on the RagMetrics GUI
- Add metadata and filter on it
- Add custom formatting to your trace input and output using a callback
Run an experiment
You can create and run an experiment from code, rather than from the GUI. In RagMetrics, an experiment depends on a task and dataset, so we’ll need to create those first.
Step 1: Create a task
from ragmetrics import Task
# Create a new task
t1 = Task(
name="Pig Latin",
system_prompt="Answer in pig latin",
generator_model="gpt-4o-mini"
)
# Save the task
t1.save()
# Print the generated task ID
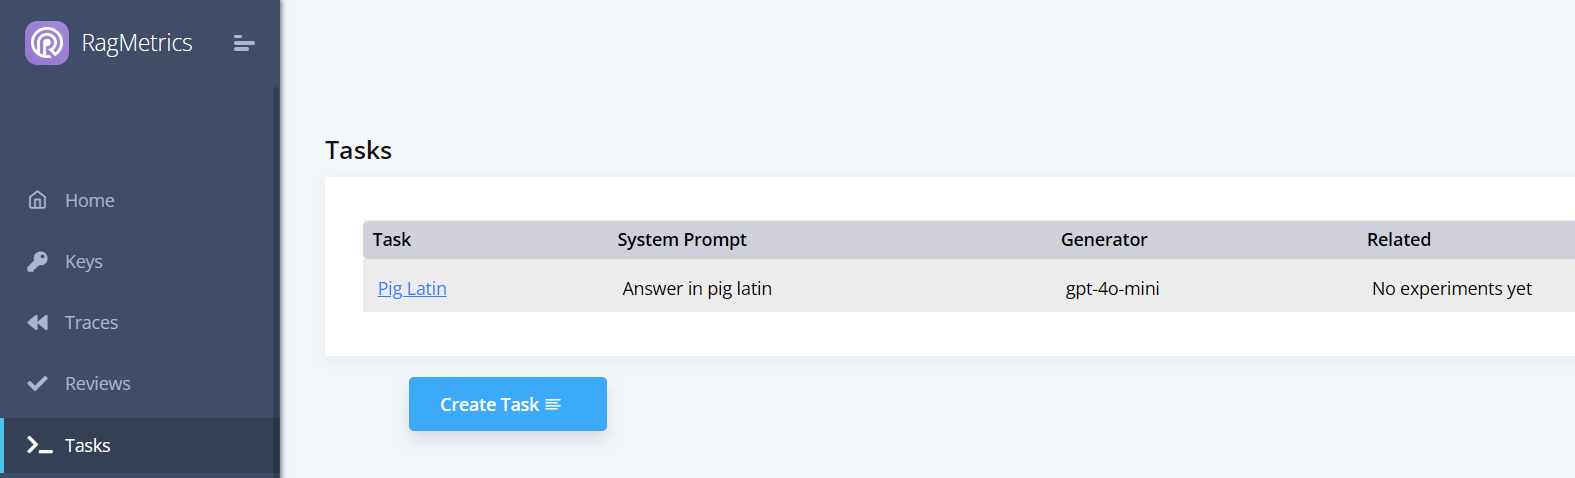
print(t1.id)
After the task is saved, the task object gets a task ID. You can now see it on the Tasks page:
You can also download a task from RagMetrics using its ID or name:
# Download the task by ID
t2 = Task.download(t1.id)

# Alternatively, download by name
# t2 = Task.download(name="Pig Latin")

# Display task details
print("Task name:", t2.name)
print("System prompt:", t2.system_prompt)
print("Generator model:", t2.generator_model)
Step 2: Create a dataset
A RagMetrics dataset is a collection of examples. Each example contains a question, a ground truth answer, and a ground truth context.
from ragmetrics import Dataset, Example

# Create two examples
e1 = Example(
    question="What is the biggest city in the east of US?",
    ground_truth_answer="NYC",
    ground_truth_context=[
        "NYC is the biggest city in the east of US.",
        "NYC is on the eastern seaboard."
    ]
)

e2 = Example(
    question="Is it beautiful?",
    ground_truth_answer="Yes",
    ground_truth_context=["NYC is a very beautiful city."]
)

# Create a dataset and save it
d1 = Dataset(name="NYC", examples=[e1, e2])
d1.save()

# Print the dataset ID
print(d1.id)
Just like with tasks, you can download a dataset from RagMetrics using its ID or name:
# Download the dataset by ID
d2 = Dataset.download(d1.id)

# Alternatively, download by name
# d2 = Dataset.download(name="NYC")

# Display dataset details
print("Dataset name:", d2.name)
Step 3: Create an experiment
Now that we have a task and dataset, let’s create the experiment and run it:
A RagMetrics experiment consists of a list of cohorts. Each cohort represents one run through the dataset. Having two cohorts allows us to compare performance between two models, prompts or LLM pipelines, similar to an A/B test. The number of cohorts in an experiment is unlimited.
from ragmetrics import Task, Dataset, Criteria, Experiment, Cohort

# Load prerequisites: the task, dataset, and criteria
t1 = Task.download(name="Pig Latin")
d1 = Dataset.download(name="NYC")

# We'll use the off-the-shelf accuracy criterion, but you can also create your own
accuracy = Criteria(name="Accuracy")

# Define the experiment as a list of cohorts
cohort1 = Cohort(name="gpt-4o-mini", generator_model="gpt-4o-mini")
cohort2 = Cohort(name="API Demo: Stub", rag_pipeline="API Demo: Stub")

# Create the experiment
e1 = Experiment(
    name="My Experiment",
    dataset=d1,
    task=t1,
    cohorts=[cohort1, cohort2],
    criteria=[accuracy],
    judge_model="gpt-4o-mini"
)

# Run the experiment
experiment_results = e1.run()
When the experiment runs, we can see the following in the console:

Follow the link to view the experiment in the RagMetrics UI.
Step 4: Local code
In the previous step, we ran an experiment whose assets are hosted by on RagMetrics servers. By ‘assets’ we mean the task, dataset, criteria and the generator model. All of these can be hosted locally in your environment too:
Let’s start by with a local pipeline that greets our users:
def say_hi(input, cohort = None): return "Hi " + input
For simplicity, this example does not use an LLM, but it just as easily could.
This function takes two parameters:
input: The input, typically provided by the user, into your LLM pipeline.cohort: Optional JSON of A/B test switches. You can use them to compare prompts, generator models, vector databases, agentic configurations etc. More on those later.
Ragmetrics expects local functions such as say_hi to return either a string (which would be the generated answer) or a dictionary with the two keys:
generated_answer: The output of your LLM pipeline. Can be a string or JSON.contexts: Optional, list of contexts retrieved. Useful if you’d like to evaluate retrieval separately from generation. Here’s an example:
# Define example contexts
contexts = [
    {
        "metadata": {
            "source": "Source 1",
            "title": "Title for Source 1",
            # Additional metadata as needed to identify the source
        },
        "page_content": "Content for source 1"
    },
    {
        "metadata": {
            "source": "Source 2",
            "title": "Title for Source 2",
            # Additional metadata as needed to identify the source
        },
        "page_content": "Content for source 2"
    }
]

# Now that we have a local “LLM” pipeline, let’s create the other assets locally too:
# a task, dataset, and an experiment

e1 = Example(
    question="Bob",
    ground_truth_answer="Hi Bob"
)

e2 = Example(
    question="Jane",
    ground_truth_answer="Hi Jane"
)

dataset1 = Dataset(
    examples=[e1, e2],
    name="Names"
)

task1 = Task(
    name="Greet",
    function=say_hi
)

criteria1 = Criteria(name="Accuracy")

exp1 = Experiment(
    name="Naming Experiment",
    dataset=dataset1,
    task=task1,
    criteria=[criteria1],
    judge_model="gpt-4o-mini"
)

# Run the experiment
status = exp1.run()
When we run the experiment, RagMetrics will loop through the local function, once for every example in the dataset, collect the outputs and send them to the RagMetrics server for evaluation. We can watch the progress in the terminal or web UI, same as in step 3 above.
Notes:
- The Task refers to our local pipeline using the function parameter.
- We did not specify Cohorts, because we are not using any A/B test switches in this example. Ragmetrics creates a default Cohort for us.
Key Takeaways
In this quickstart tutorial, you learned how use the RagMetrics push API to:
- Create tasks and datasets
- Create and run experiments
- Review their results
%201.svg)